Now in Tutorial 3 , im going to show how I did the camera movement and the object
movement using this software .
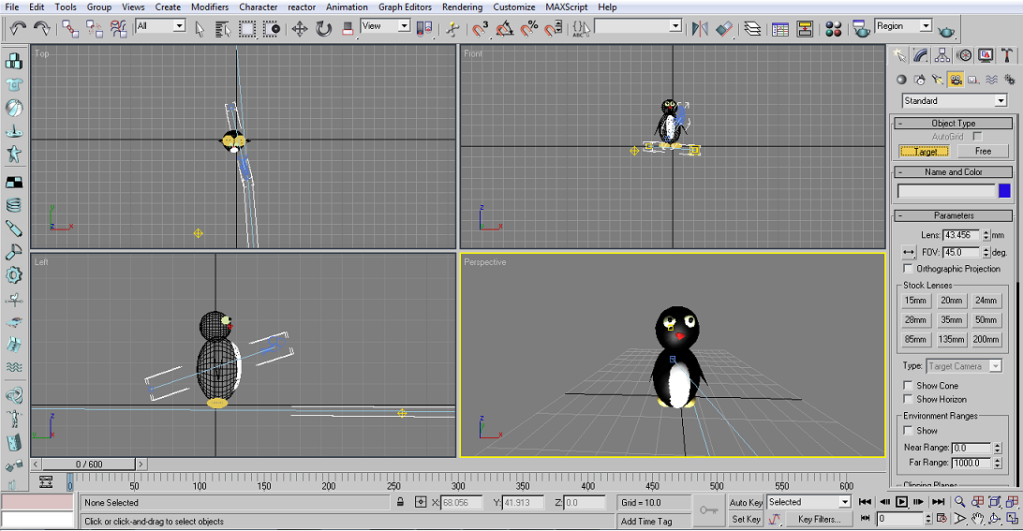
Step 1 : Set the lights and camera first.
 | ||
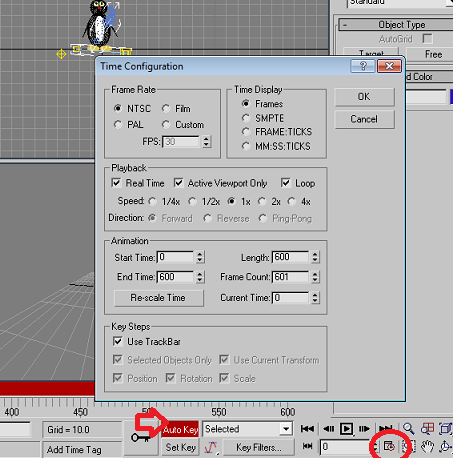
| Picture 1 Step 2 : Then, click on the icon that showed in red color circle. I changed the number of length to 600 and click OK. After that, click on the Auto Key to set the movement of camera and lights. For object movement : Im followed the same method to do the object movement. I make the camera static and group all the objects and move it.
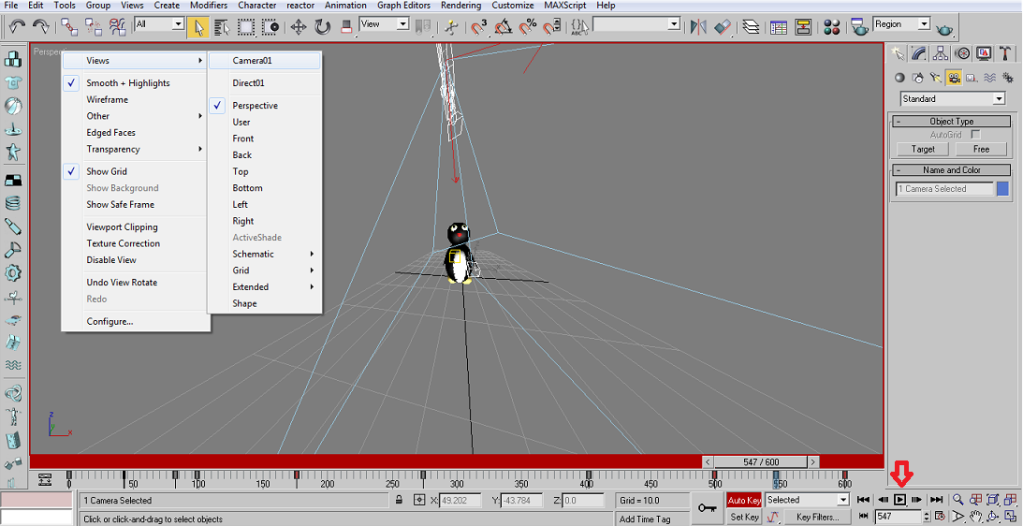
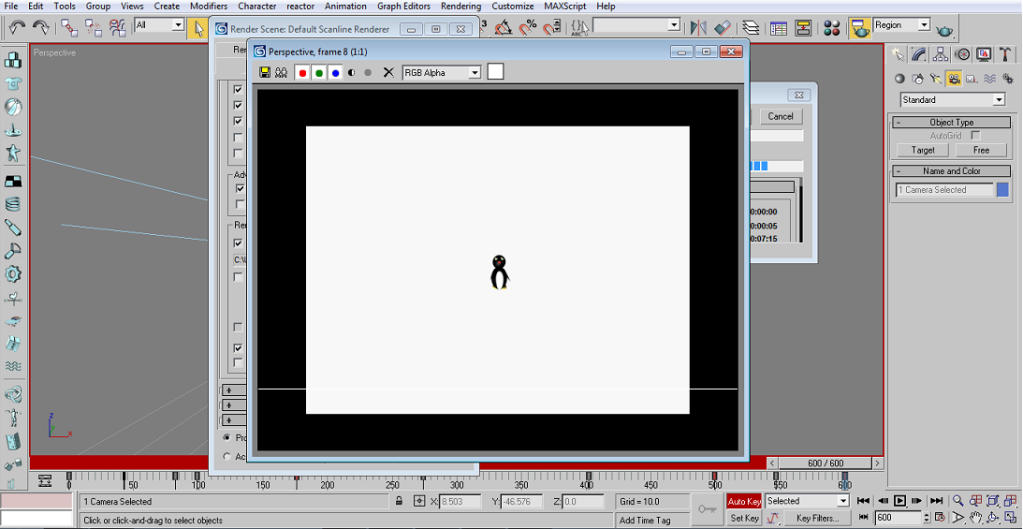
Step 3 : Starts from frame number 0 till 600, I moved the camera and set the key. To view the animation ,I right-clicked on Perspective that top of the workarea > select Views > select Camera 01 > then click on Play Animation icon.The following steps are same for object movement . |
 |
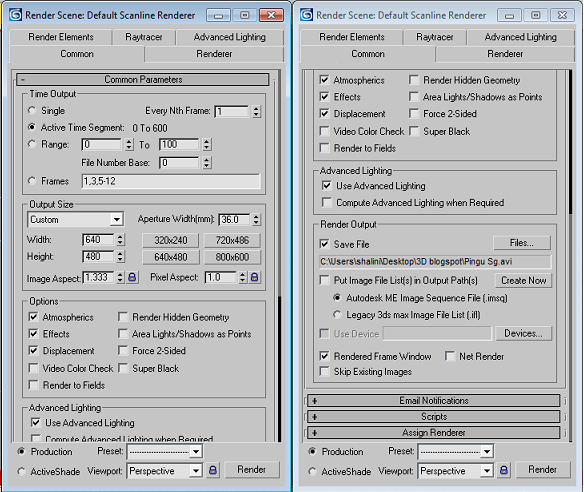
| Picture 3 Step 4 : To do the rendering select the Rendering from menu bar > select Render > choose Common > in Common Parameters choose Active Time Segment option button > then scroll down and in Render Output click on Files button > select there where want to save the file > click Render . |
 |
| Picture 4 |
 |
| Picture 5 Videos : To view the output for camera and lights movement video & object movement video click on the link : This is my output after add some effects on my videos . |
No comments:
Post a Comment